This post contains affiliate links which means items purchased through these links return a small monetary percentage back to this blog. Read our full disclosure policy here.
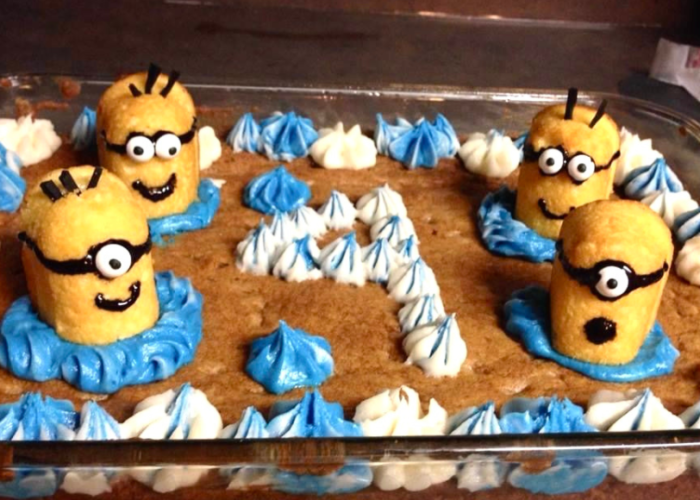
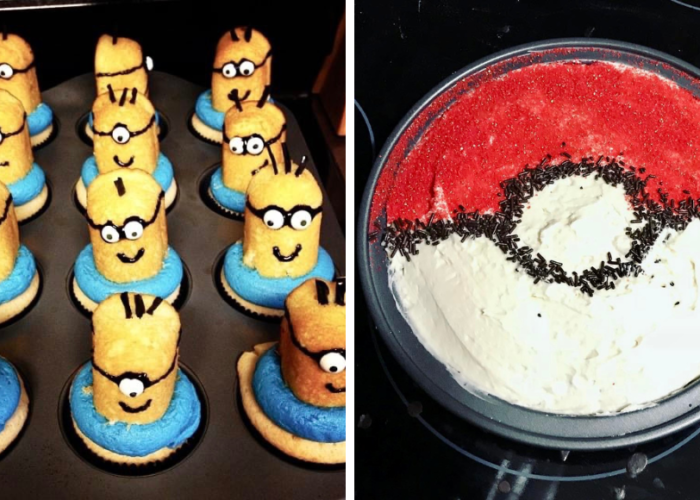
A lot of people are intimidated by making birthday cakes. But it’s actually not as hard as you’d think! All it takes is some good bakeware, a good idea, and some practice. Here are a few tips to get you started.
Supplies for your Easy DIY Birthday Cake
You’ll want to invest in some good bakeware if you plan on making your own birthday cakes. I used cheap cake pans for years and I was always fighting to get the cakes out without breaking apart. I recently tried Great Jones cake pans and I couldn’t believe how easy it was to get the cakes out, keeping the perfect shape! It saved me a lot of time and frustration. I can’t recommend these cake pans enough!
You’ll want to grease and flour the cake pans before starting. This will help ensure those cakes slide ride out when they are done baking.

Design Your Easy DIY Birthday Cake
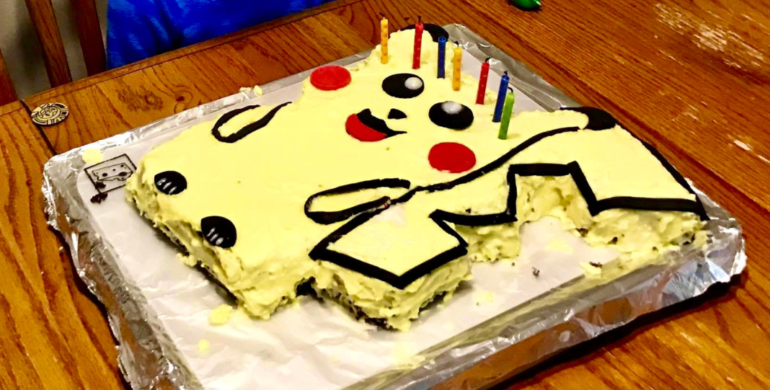
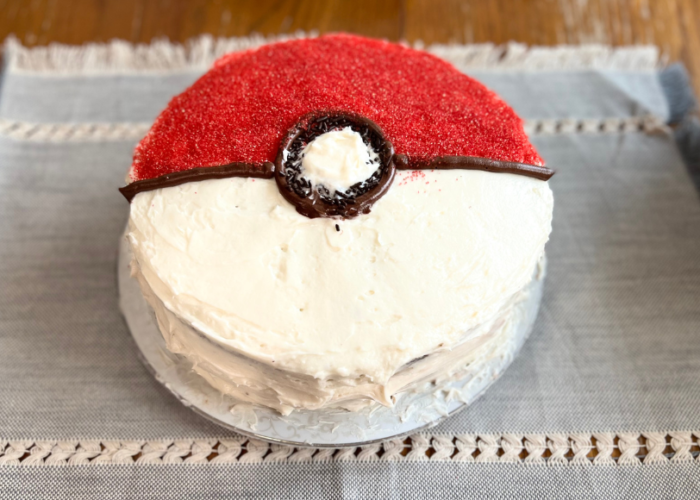
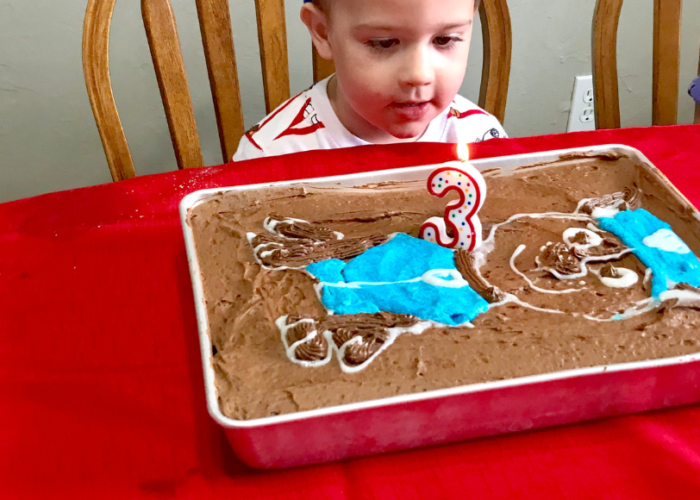
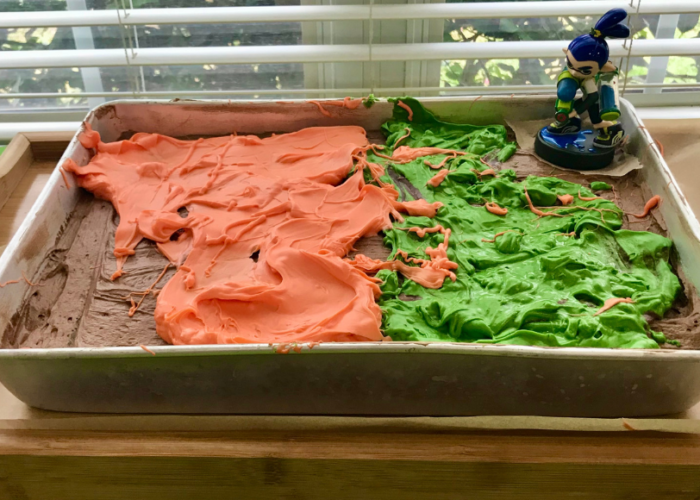
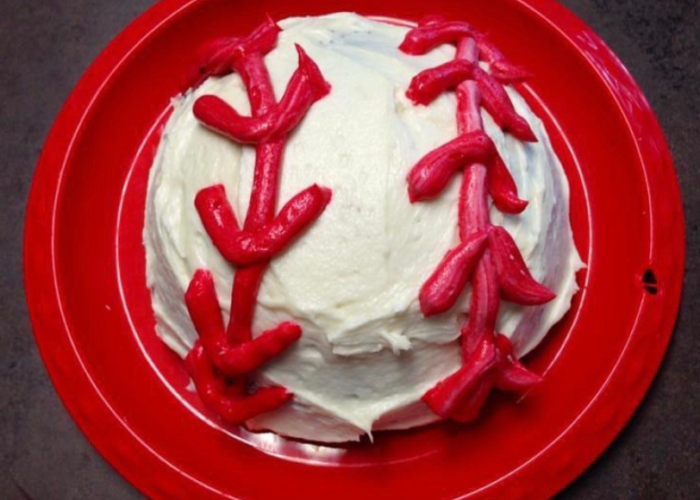
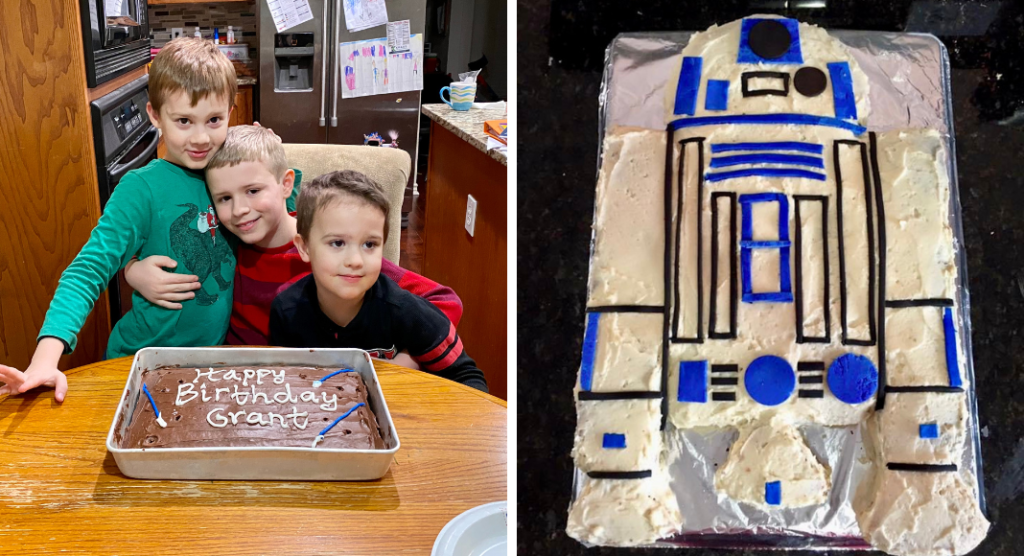
Next is designing the cake. The easiest way to start out with making DIY cakes is using a round cake pan or a 9×13 cake pan and leaving them in the pans to decorate. That way, you’ll only need to frost the top of the cake and not the sides, which can get messy and takes more practice to get it down. You can then use icing pens to write or draw on the cake with relative ease. Remember that even very simple designs can easily delight children!
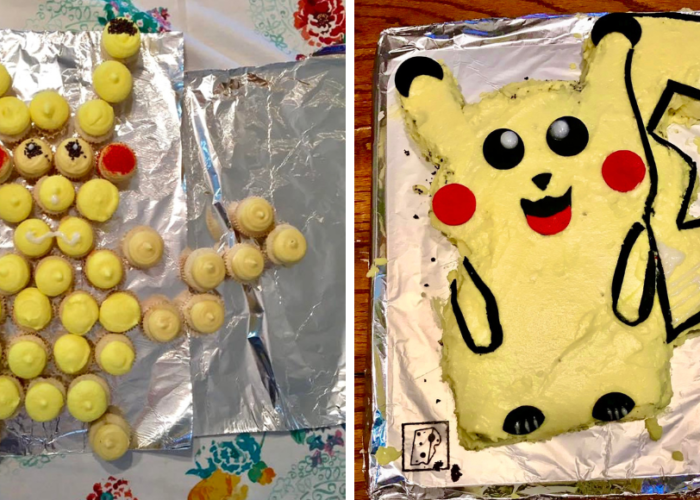
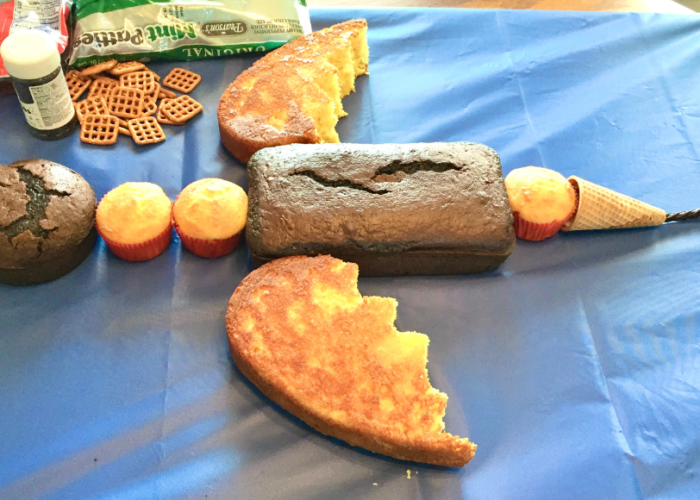
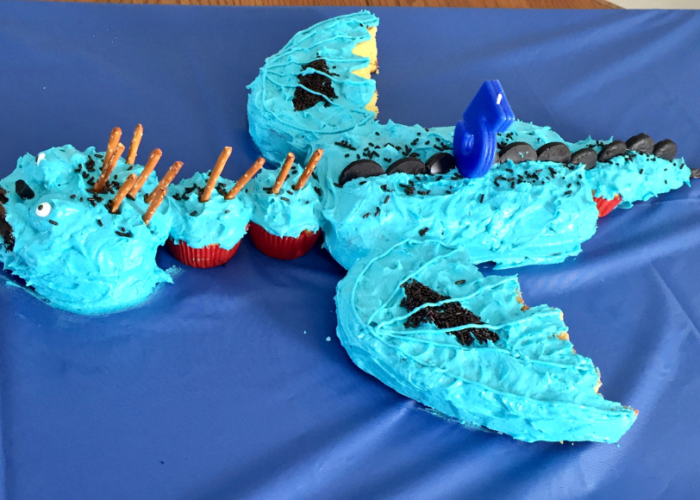
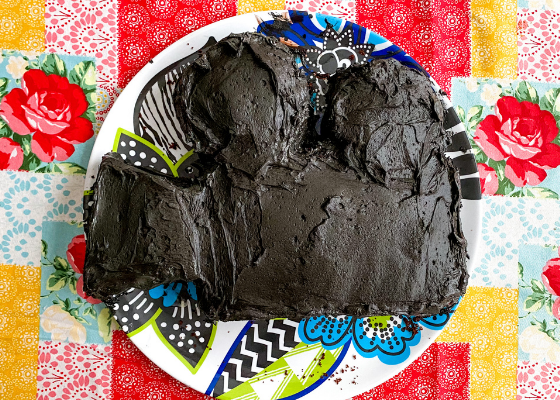
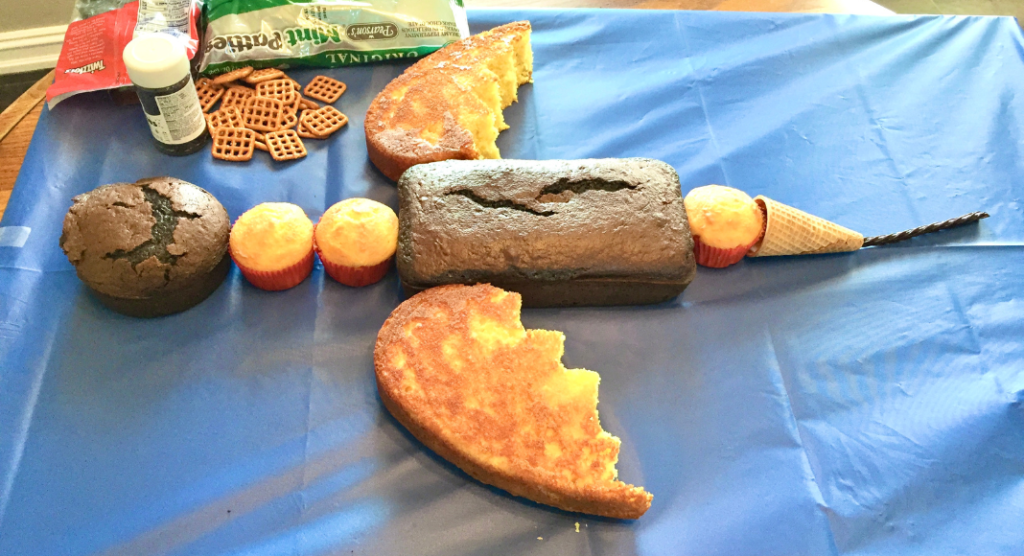
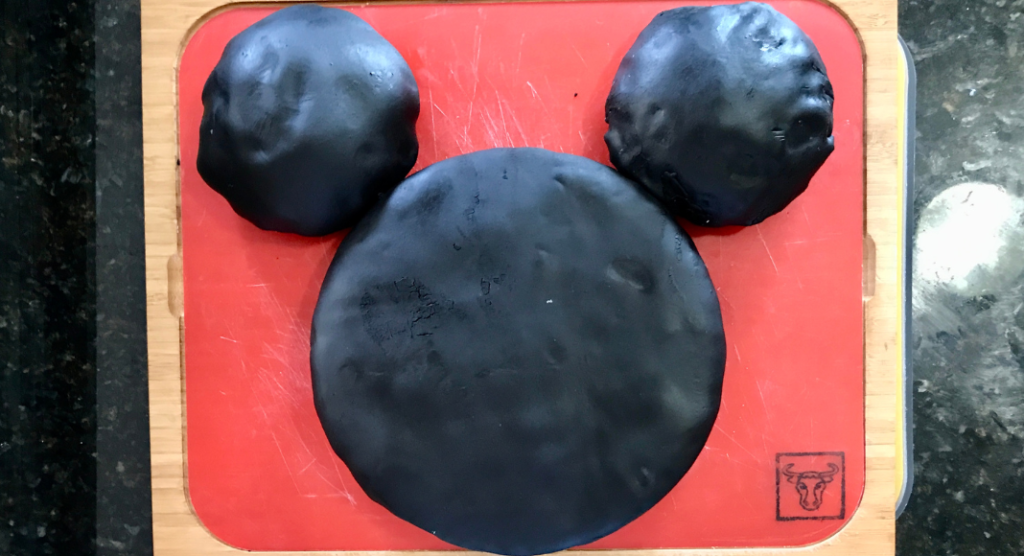
Another option is to construct your cake in the shape of something else. The easiest way to do this is to try to find an example of the cake you want online and try to replicate it. You can do a simpler design like Mickey Mouse where you really only need to use round pans to make the cake parts and then assemble them together. One of the more complicated designs I have done is R2D2. I found a picture of another R2D2 cake online to base my design on. I baked a cake in a 9×13 pan, and another cake in a round cake pan, and once they all cooled I took them out, cut them into different shapes, assembled them in the order I wanted them, and then frosted it all.
Recipes for your Easy DIY Birthday Cake
Keep in mind that you can always purchase a box cake and icing container from the grocery store if you don’t want to make it all from scratch. Some years I’ve done it that way. I usually love making cake and icing from scratch because you get a larger quantity and can play around a little bit.
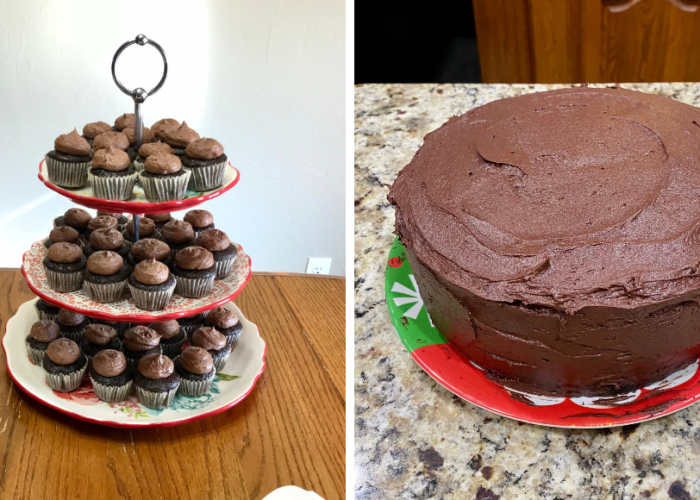
My kids LOVE chocolate cake. This is our favorite recipe for a 2-layer chocolate cake or you can use the smaller 9×13 cake recipe or the cupcake recipe. This is a tried and true recipe that comes out nicely every time.
If you want a different flavor of cake, you’ll get a lot of search results on google. It may seem overwhelming, but what helps me narrow it down is looking primarily at the recipes that seem to have a large number of positive reviews. Then I read the reviews to discover if there are any issues or quirks that other bakers have come across while using the recipe. This can save you a lot of time!
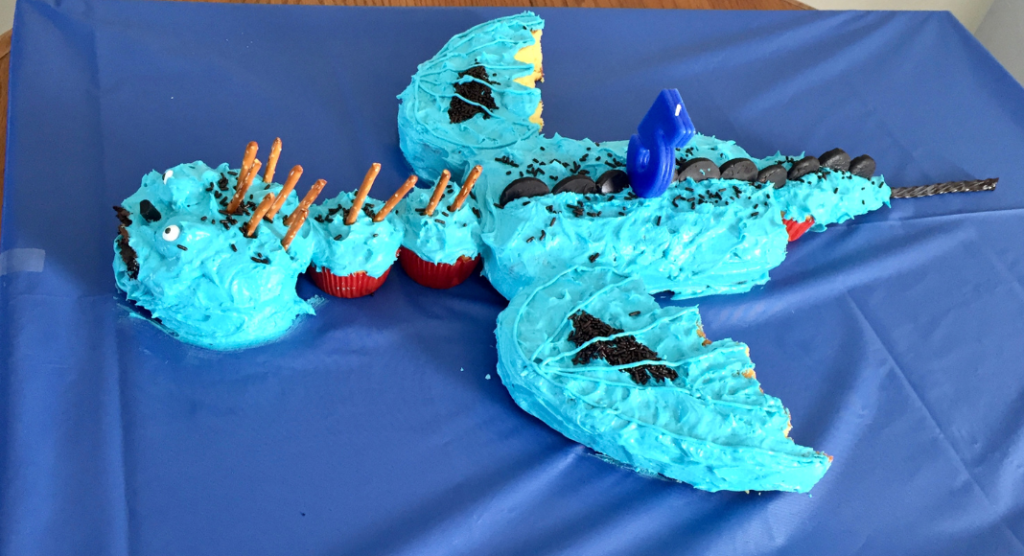
Frosting and Decorating your Easy DIY Birthday Cake
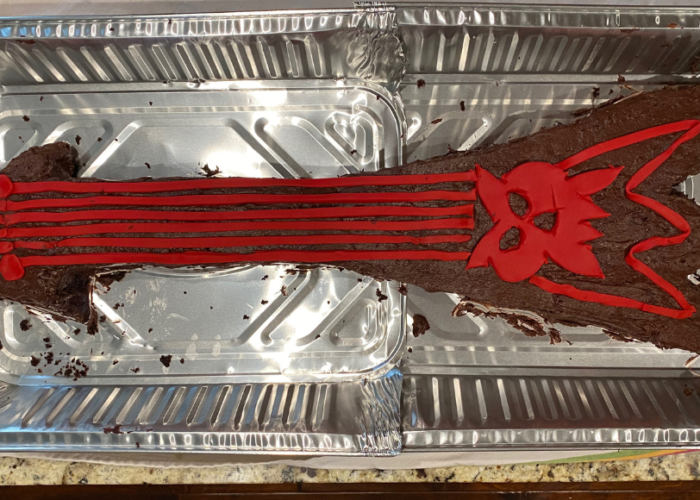
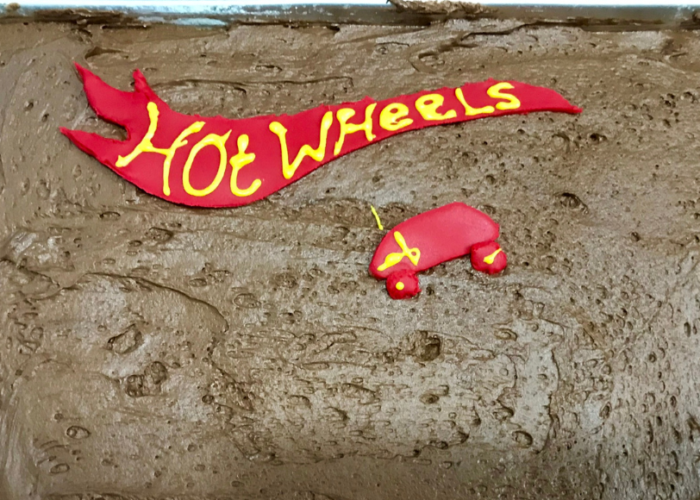
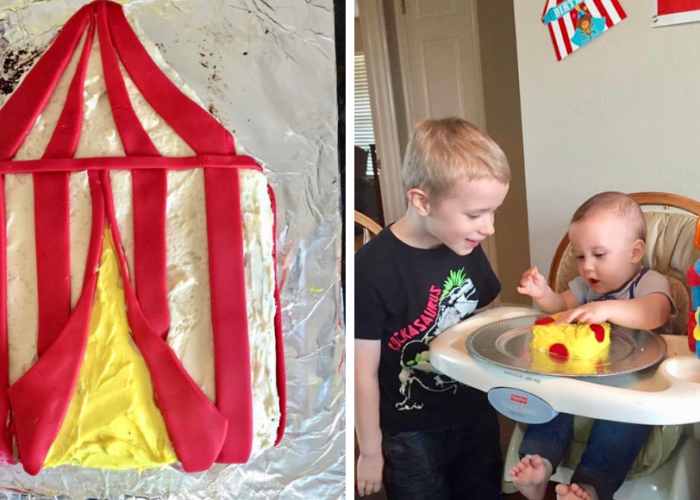
The thing to decide is whether you want to frost your cake with buttercream icing, fondant, or a combination of both. I have only used fondant a few times, and most of the time it is only a smaller part of the design and not the entire thing. It is pretty easy to ice the cake with buttercream and then separately roll out some fondant, cut a design out, and place it on top of the buttercream.
Buttercream Icing
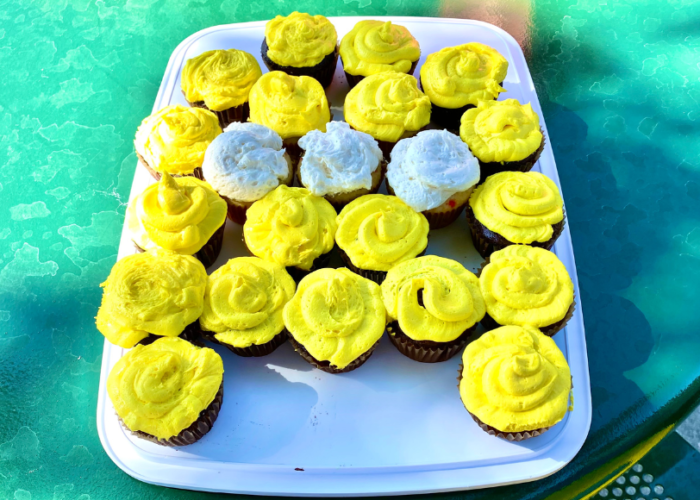
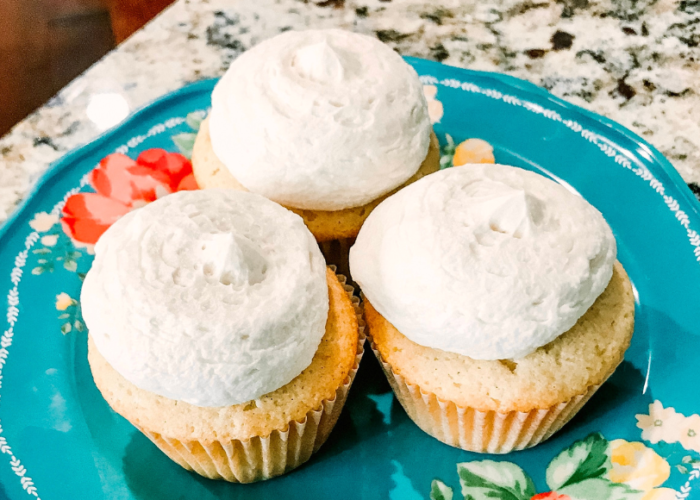
A basic buttercream icing only needs a few ingredients. I’ll share our recipe below. Vanilla is our go-to for decorating because you can simply add food coloring to get whatever color you want. I like using AmeriColor Gel Food Coloring.
Vanilla Buttercream Icing Recipe
Our basic buttercream icing recipe will ice approximately 24 regular cupcakes.
Ingredients:
- 1 cup butter, softened
- 6-8 cups powdered sugar
- 1 Tablespoon vanilla
- 1/4 cup – 1/2 cup of milk
Directions:
- Mix butter, 4 cups of powdered sugar, extract, and 1/4 cup of milk until smooth.
- Add the remaining 2 cups of powdered sugar, one cup at a time, and mix until smooth.
- Add the remaining 1/4 cup of milk, if desired. The total amount of milk you add will depend on the texture you want.
- Add food coloring, if desired. Mix until fullly incorporated.
You can also swap out the type of extract you use to get different flavors (lemon, mint, etc.)
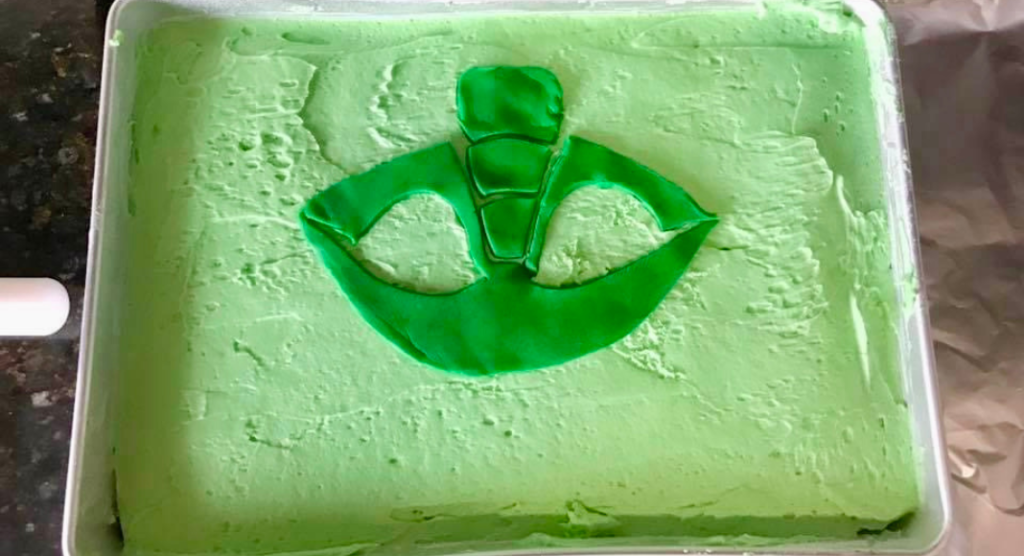
Fondant Icing
I used fondant purchased from Walmart for this Mickey Mouse cake. It’s actually pretty easy to roll it out. First, put a thin layer of buttercream over your cake to give the fondant something to stick to. Then you roll out a thin layer of fondant in the size you need and decisively drape it over the cake and smooth it over the sides. It may seem intimidating but honestly, this was actually easier than using buttercream! If you choose to use buttercream, use AmeriColor Gel Food Coloring to get richer colors while using fewer drops of food coloring.
Here’s another example of a buttercream base frosting with fondant decorations on top.
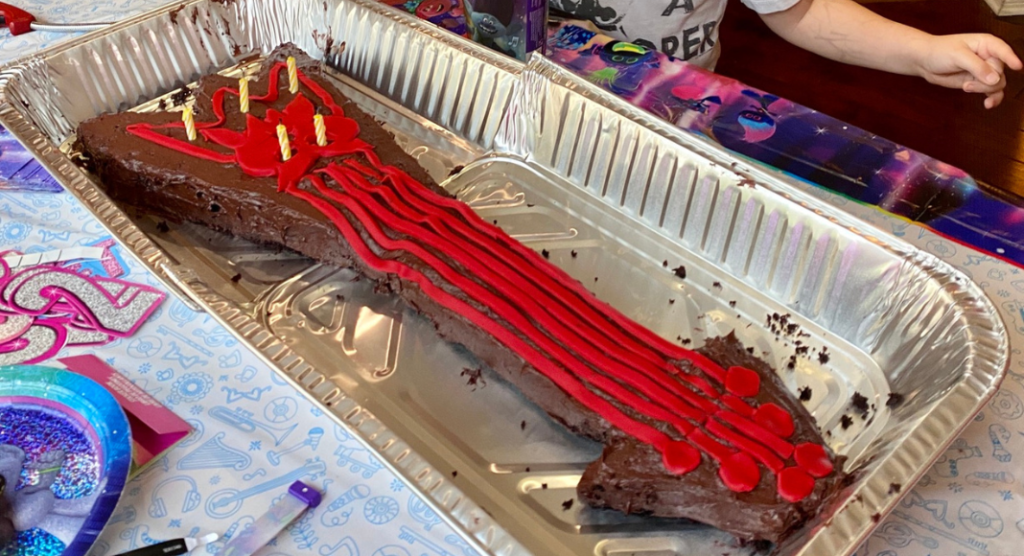
There you have it! Making and designing a birthday cake can be as easy or as complicated as you want it to be. Just like anything else, it takes practice and repetition to get the hang of each element and perfect it to your liking. If you run into problems, don’t give up! Most likely, any imperfections will not be noticed by your kids and they will still have a great birthday regardless. Happy baking!

